The Haptic Feedback Problem: Why Your App Feels Flat Even When Every Button Works
You shipped the feature, the animation is smooth, and the layout is pixel-perfect on your test phone. Then a beta tester says the app "feels flat." Nothing is broken. Buttons respond, toggles flip, forms submit. Yet something is missing, and it is something you can't see in a screenshot: the physical feedback that tells a thumb "that worked." If you are building with Dolfy.ai or any other tool, haptics, the small vibrations a phone produces in response to touch, are one of the cheapest ways to make an app feel finished.
The trouble is that haptics are easy to get wrong. Add too many and the phone buzzes like an angry insect. Add none and the app feels like a website in a wrapper. This guide explains how to decide where haptics belong, which type to use, and how to make them part of your design system instead of a last-minute afterthought.
Key Takeaways
- Haptic feedback confirms an action through touch; it should support what the screen shows, never replace it.
- Mobile platforms give you three families of haptics: impact, notification, and selection. Pick by meaning, not by whim.
- One haptic per user action is a sound default. Stacked or repeated vibrations quickly become noise.
- Define haptic patterns as named design decisions (like design tokens) so every screen behaves consistently.
- Always respect device settings and never make haptics the only signal for important information.
What Is Haptic Feedback in a Mobile App?
Haptic feedback is a short, controlled vibration from a phone's motor that a user feels in their hand when they touch the screen or when something happens in the app. Think of the faint tick when you scroll a date picker, or the double pulse when a payment succeeds. It is the touch equivalent of a sound effect.
Modern phones make this possible with precision motors rather than the loose rattling weights of older devices. On iPhone this hardware is driven through Apple's feedback generator classes, and on Android through the platform's haptic feedback constants. If you build with React Native, the Expo SDK wraps both behind a single library, expo-haptics, so one call works on either platform.
The reason it matters for founders is practical. A user cannot always look at the screen, and even when they do, a visual change takes a moment to register. A haptic arrives in the same instant as the tap. It closes the loop between "I pressed" and "it happened," and that tiny confirmation is a big part of why premium apps feel premium.
Which Types of Haptics Should You Use?
Use the type that matches the meaning of the moment: impact for physical contact, notification for outcomes, and selection for changing a choice. Each platform groups its haptics roughly this way, and sticking to the grouping keeps your app predictable.
Impact feedback simulates something physically bumping into something else. On iOS it comes in five weights: light, medium, heavy, soft, and rigid. A light impact suits a small button press. A heavy one suits a large object snapping into place, such as a card landing at the bottom of a stack.
Notification feedback communicates the outcome of a task. There are three: success, warning, and error. A completed purchase gets success. A form that cannot be submitted gets error. A destructive action about to happen might get warning.
Selection feedback is the faint tick you feel when a value changes as you move through a list or picker. It is deliberately subtle, because it may fire many times as a finger scrolls.
A simple mapping table helps. Write it once and reuse it everywhere: primary button tap equals light impact, successful save equals success notification, validation failure equals error notification, picker change equals selection. When every screen follows the same table, users learn the vocabulary without noticing.
How Many Haptics Are Too Many?
Too many is anything the user stops noticing, or starts to resent. As a rule of thumb, limit yourself to one haptic per user action, and reserve strong ones for moments that genuinely matter. If every tap, swipe, and scroll tick produces a vibration, the signal disappears into the noise.
Here are three quick tests before you add a haptic:
- Does it confirm something the user just did? If the answer is no, skip it. Haptics triggered by background events, such as data refreshing on its own, feel like the phone is misbehaving.
- Is it the same strength as its neighbors? A heavy impact on a minor toggle makes the whole interface feel clumsy.
- Would the app be worse without it? If you could remove it and nobody would notice, remove it.
Battery is a smaller concern than design, but it is real. Frequent haptic bursts, such as continuous vibration during a long drag, draw more power than a single tick. Keep continuous patterns short, and save them for deliberate effects like a pull-to-refresh release.
Where Do Haptics Add the Most Value?
They add the most value at moments of commitment, completion, and error. These are the points where a user wants reassurance that the app heard them. Walk through your screens and mark the following candidates:
- Commitment moments: placing an order, sending a message, confirming a booking. A light or medium impact on the final button feels like pressing a real switch.
- Completion moments: a goal reached, an upload finished, a checklist cleared. A success notification pairs well with a visual celebration.
- Error moments: a failed login, an invalid card number. An error notification tells the user something went wrong even if their eyes were on the keyboard.
- Continuous choices: sliders, steppers, pickers, and segmented controls. Selection haptics give a ratchet-like sense of control.
Notice what is missing: scrolling, plain navigation, and passive content loading. Unless the interaction has a physical metaphor, such as a toggle or a snap point, it usually does not need a haptic.

How Do You Add Haptics in React Native with Expo?
Install expo-haptics and call one of its three functions at the right moment: impactAsync, notificationAsync, or selectionAsync. Each returns a promise, takes a style constant, and fails quietly on devices without a suitable motor, so a missing vibration will not crash your app.
A typical setup looks like this in plain terms. You import the library, then inside a button's press handler you call the impact function with a light style before running your normal logic. For a form, you call the notification function with the error style inside the branch that handles a failed validation. For a picker, you call the selection function each time the chosen index changes.
The better move is to wrap those calls in a tiny helper file. Instead of scattering raw library calls across thirty components, create names like tapLight, confirmSuccess, and rejectError. Now when you decide that primary buttons should feel firmer, you change one line, not thirty. If you already think in terms of design tokens, which are named, reusable design decisions such as a color or a spacing value, this is the same idea applied to touch.
Remember that Expo Go and the Web Preview behave differently. A browser has no vibration motor to speak of, so you will only feel haptics on a real device. Plan a short physical test pass before release rather than trusting the simulator.
How Does This Fit Into a Design System?
A design system is a shared rulebook of colors, type, spacing, and components that keeps an app consistent, and haptics belong in it. Treat each haptic as a named behavior attached to a component, documented alongside its visual states: default, pressed, disabled, success, error.
Dolfy approaches mobile design as a five-step Design OS: Product Definition, Data Model, Design Foundation, Screen Design, and Export. Haptics fit naturally into two of those steps. During Design Foundation, where you settle your design-token system, you can decide your touch vocabulary at the same time as your palette and spacing. During Screen Design, you can note which interactions on each screen are commitments, completions, or errors, so the right feedback is obvious when you export the React Native and TypeScript code and hand it to implementation.
This matters because inconsistency is the real danger. When a founder adds a haptic on one screen in week two and a different style on another in week six, the app ends up with an accidental, contradictory language. Writing the mapping down early, while the product is still small, costs minutes. Retrofitting it across a mature app costs days.
Designers coming from Figma or Sketch will recognize the gap: those tools describe how things look, not how they feel. Since a static mockup cannot show a vibration, annotate it. A short note beside a button reading "light impact on press, success notification on save" is enough to keep design and development aligned.
What About Accessibility and User Settings?
Respect the system and the person. Many users turn haptics off in their phone settings, some use assistive technologies, and others simply dislike vibration in quiet places. Your app should honor those choices rather than overriding them.
Follow these guardrails:
- Never rely on haptics alone. An error must also appear as visible text, and a success must also appear on screen. Haptics are reinforcement, not the message.
- Check system preferences. If the platform reports that haptics are disabled, the helper functions you wrapped earlier can simply do nothing.
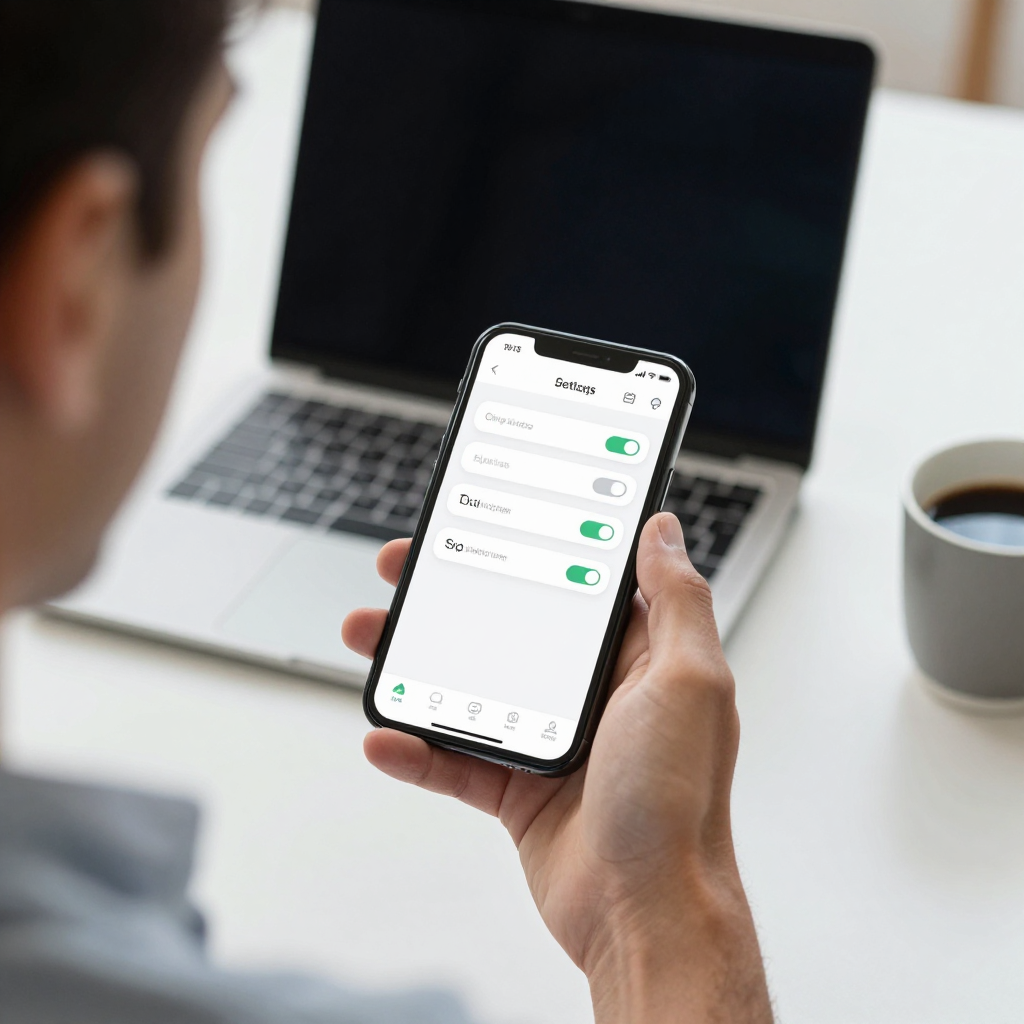
- Offer a toggle for heavy users. An in-app setting to reduce or disable haptics is a courtesy that costs one switch in a settings screen.
- Keep patterns brief. Long or rhythmic vibrations can be uncomfortable or confusing, especially for people with sensory sensitivities.
If your audience includes users with low vision, haptics can be a real accessibility benefit, because they provide a non-visual confirmation channel. That is a strong reason to implement them thoughtfully rather than not at all.
What Mistakes Do Founders Make Most Often?
The most common mistake is adding haptics last, in a rush, to "polish" the app. Five others follow close behind:
- Haptic on everything. The phone buzzes on each tap, scroll tick, and tab change, so none of it means anything.
- Wrong strength for the moment. A heavy impact on a tiny control, or a faint tick on a large destructive action.
- Haptic before the result is known. Firing a success buzz when the request is sent, then showing a network error a second later, teaches users to distrust the feedback.
- No testing on real hardware. Simulators show nothing, and different phones feel different.
- Ignoring Android variance. Haptic motors vary widely across Android devices, so keep patterns simple and test on at least two or three models.
Fixing these is rarely about code. It is about deciding the rules before the first line is written, which is why the earlier mapping table matters so much.
Frequently Asked Questions
Do haptics work the same on iPhone and Android?
Not exactly. iPhones use a consistent, precise motor, while Android hardware varies by manufacturer and model. Expo's haptics library gives you one API for both, but you should still feel the result on real devices from each platform.
Can I add haptics without writing native code?
Yes. With React Native and Expo, the expo-haptics library handles the native side for you. You call a JavaScript function, and the library talks to the platform's feedback system.
Will haptics drain my users' batteries?
A single tap-sized haptic uses a negligible amount of power. Long, continuous vibrations use more, so keep them short and reserve them for meaningful moments.
Should every button have a haptic?
No. Give haptics to meaningful commitments, completions, errors, and continuous choices. Plain navigation and passive content usually look and feel better without them.
Make Touch Part of Your Design Language
Haptic feedback is the quietest part of a product, and that is exactly why it is so effective: users rarely notice it when it is right and always notice when it is absent or overdone. Choose a small vocabulary of impact, notification, and selection patterns, attach each to a clear meaning, and write it into your design system from the start.
If you want a structured way to define that system before you write a single component, Dolfy walks you through the full flow, from product definition to production-ready React Native code, so decisions like these are made once and applied everywhere.